TUTORIAL
Creating and sending a newsletter campaign V6
From writing to sending: create a newsletter campaign and deliver it to your subscribers.

Before you start
A campaign sends a newsletter to one or more mailing lists at the time you choose. Before you begin, make sure you have at least one mailing list filled with contacts and a newsletter theme for the media. If a banner warns that a sender configuration is missing for the media, the sender must be configured first, otherwise the campaign cannot be sent.
Create the campaign
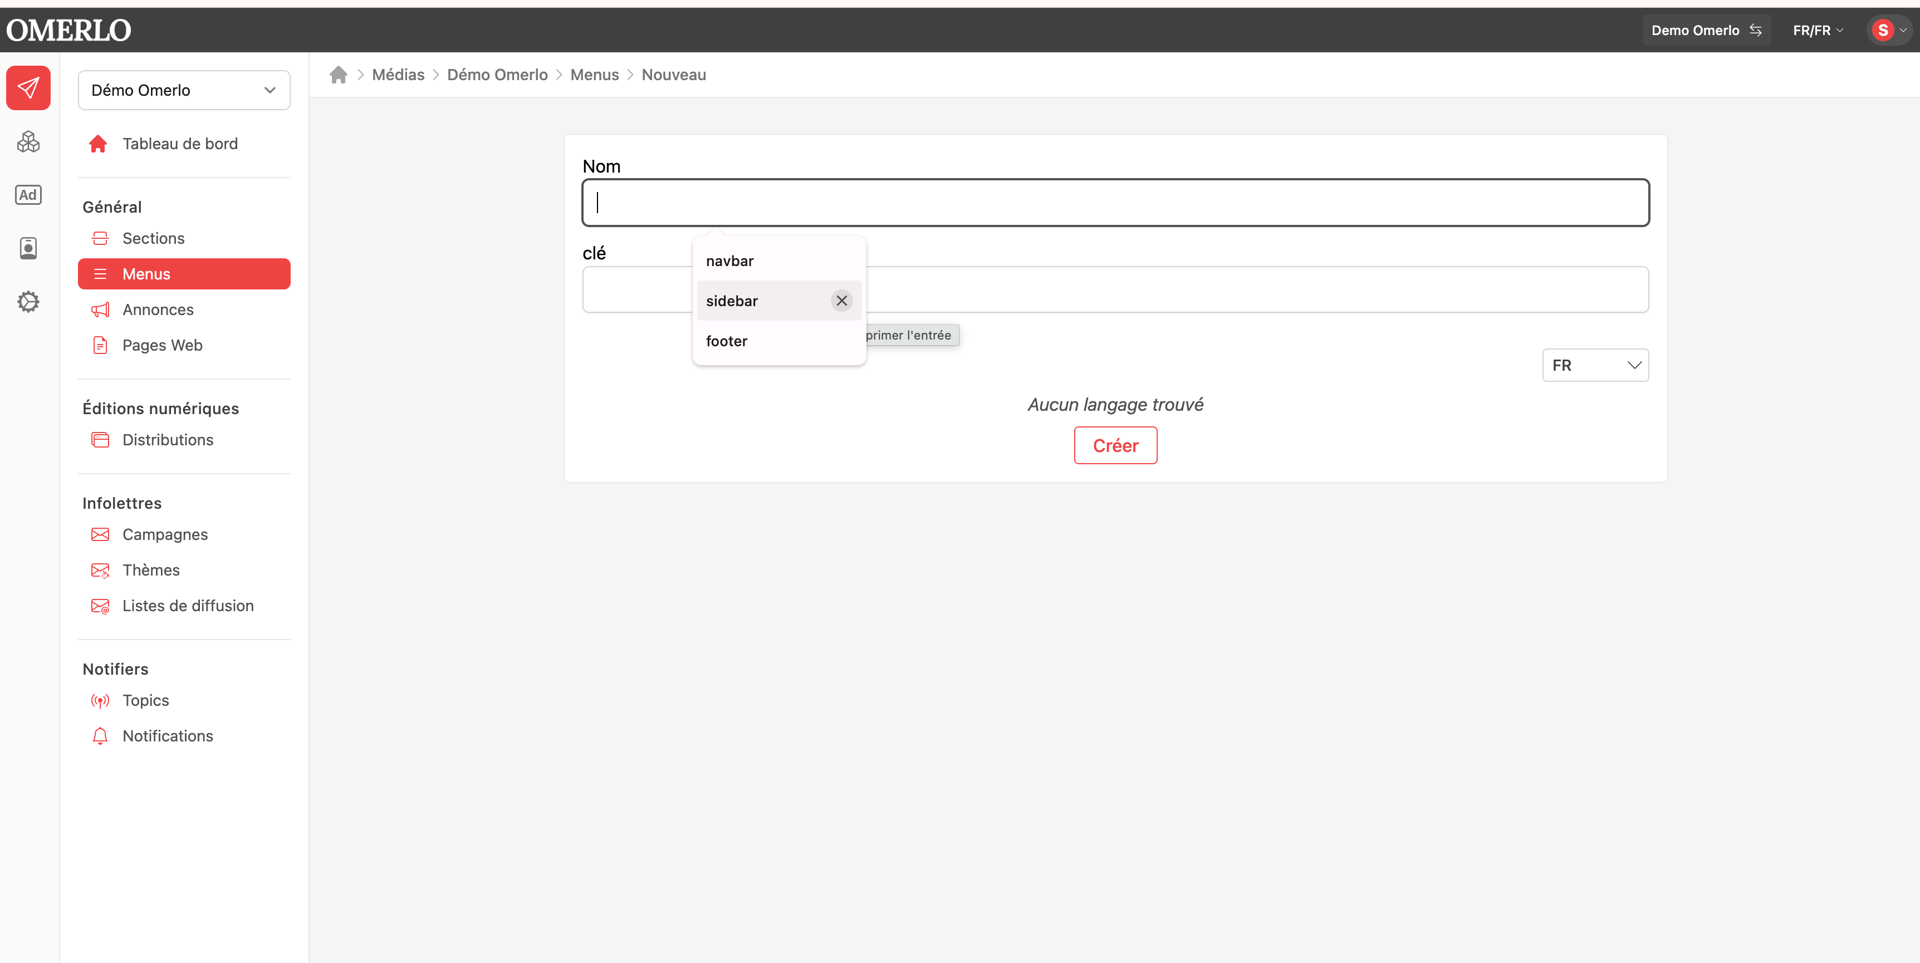
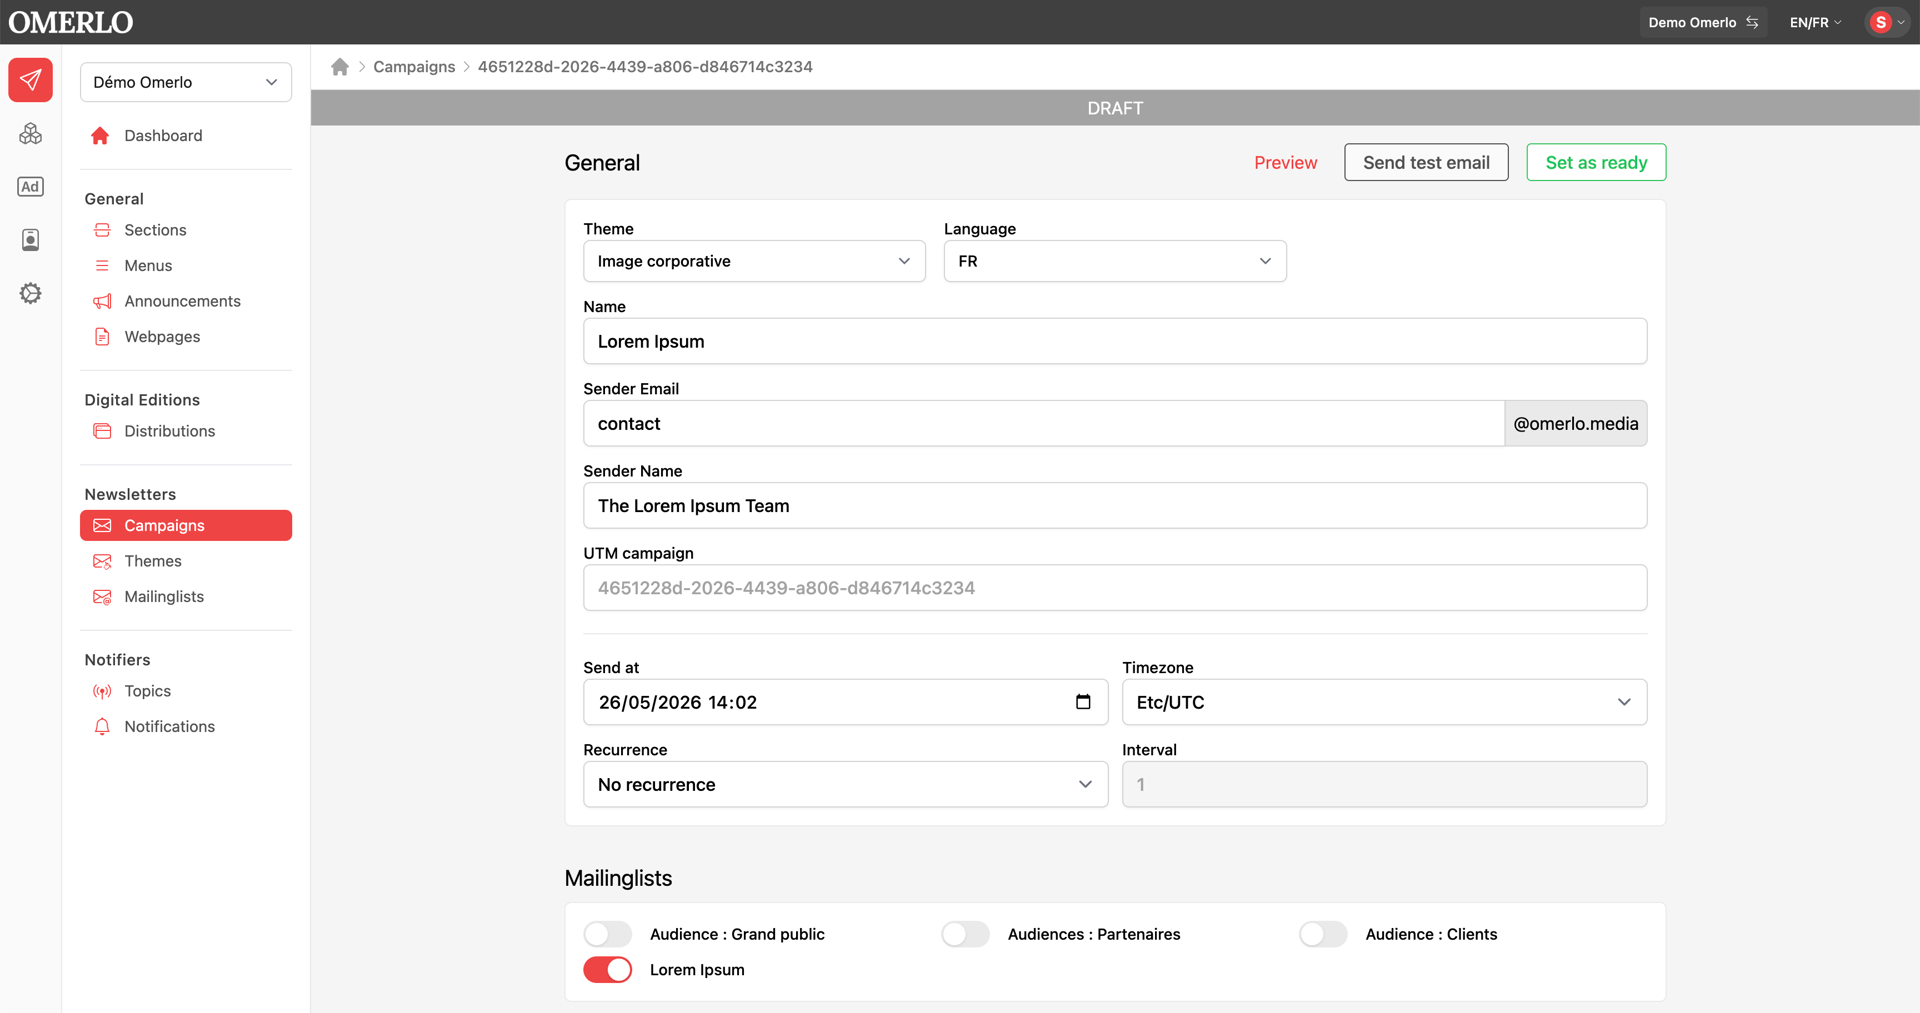
Open the Publisher, select your media, then under Newsletters click Campaigns and New. Fill in the fields: the Theme, the Language, the campaign Name, the sender Email address and its display name, the Send date and Timezone. If the send should repeat, choose a Recurrence and an Interval. Only the UTM campaign field is optional. Click Create.
Choose the recipients
Select the mailing list(s) to send the newsletter to. These are the lists you created beforehand in the Mailing lists section.
Compose the content
Add the content blocks that will make up your newsletter. The available blocks are: Text (a rich-text block), Image (uploaded from your computer), Advertisement (uploaded from your computer), Banner (a clickable image at the top of the newsletter), Media feed (a list of 1 to 10 articles from your media), Section feed (1 to 10 articles from a specific section) and Selected content (one or more articles you pick manually).
Preview and test
Scroll back to the top of the page and click Campaign preview to see your newsletter before sending. You can also send yourself a test by clicking Send test email, then entering the desired email address.
Schedule the send
When everything is ready, click Set as ready. The campaign will be sent automatically at the date and time you chose. The platform then records sends, deliveries, opens and clicked links, and automatically manages unsubscribes and problematic addresses.