TUTORIAL
Creating menus on your media V6
Create and organize your media's navigation menus to guide your readers.

Access your menus
From the dashboard, open the Publisher app (icon in the top-left corner), then select your media from the drop-down menu in the top-left.
In the left-hand menu, under General, click Menus. The list shows each menu with its name and its key in brackets (for example navbar [navbar]).
Create a menu
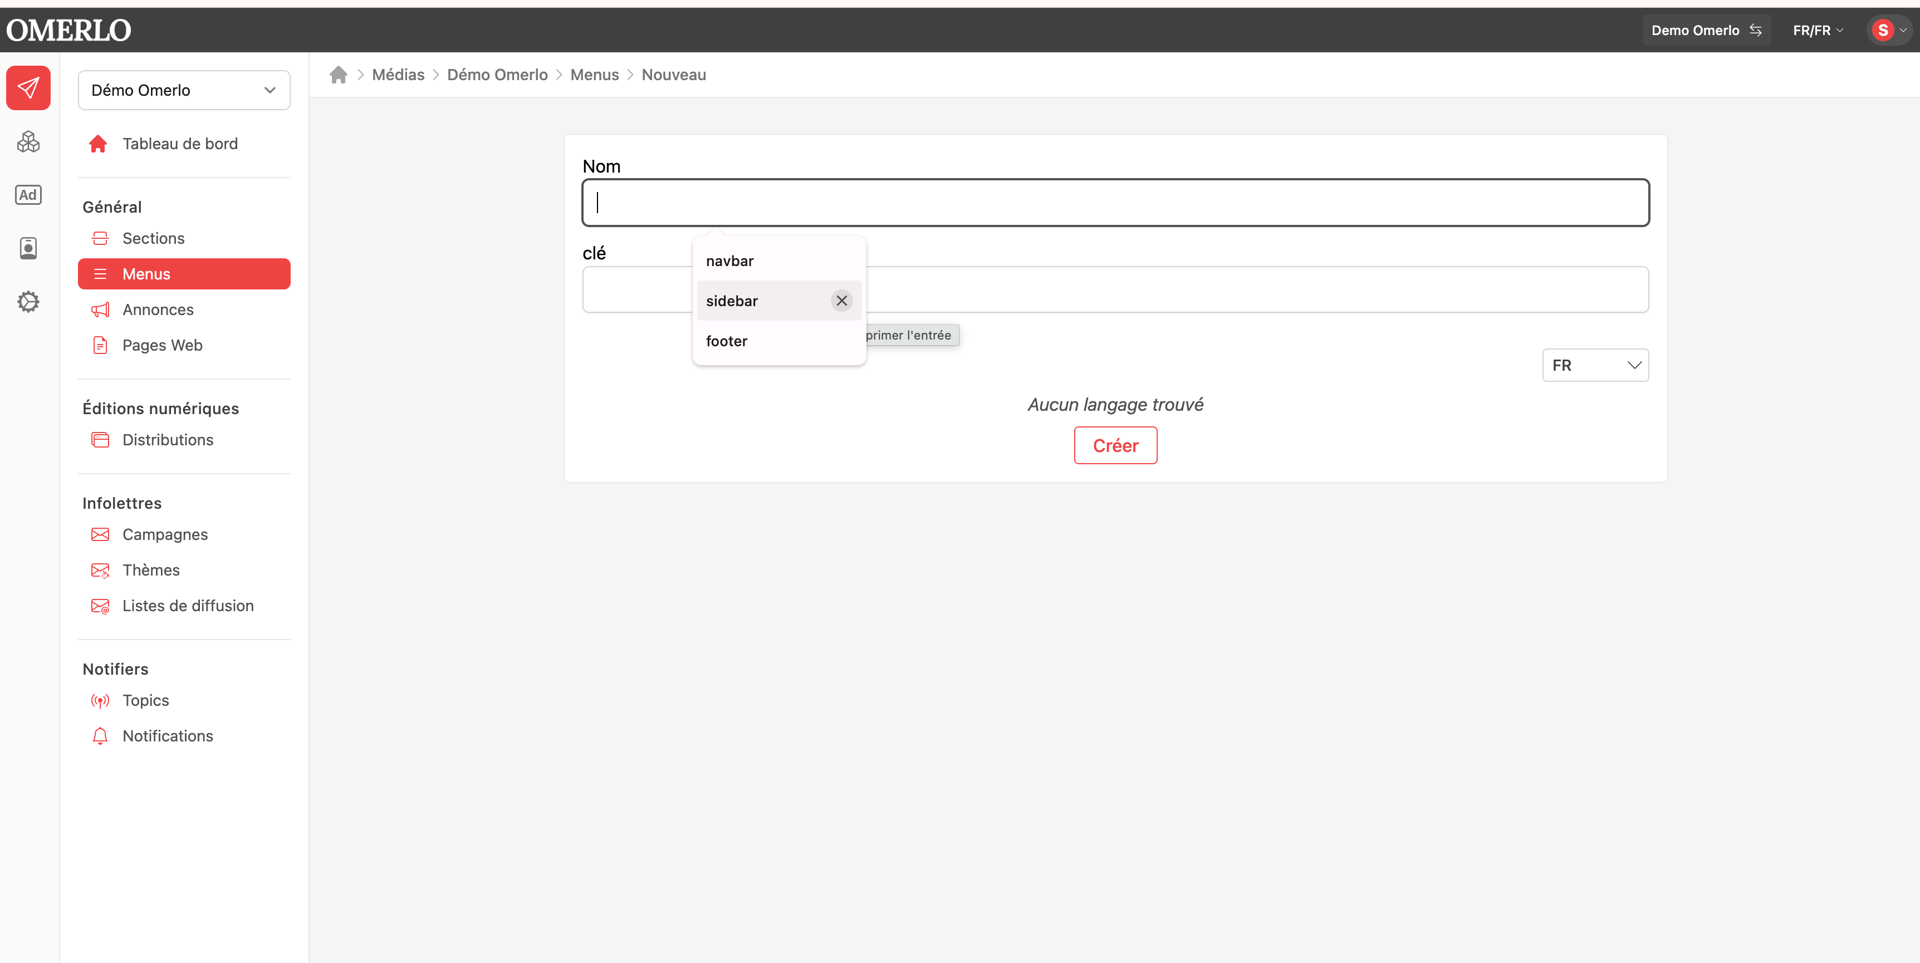
Click New, in the top-right corner.
Enter the menu Name, then the Key. Create three menus using the same name and key for each one: navbar, sidebar and footer.
Choose the language (FR or EN), then click Create. For a bilingual media, create the menu in FR first, then repeat in EN.
Add items
In the menu list, open the menu you want to edit by clicking the actions menu (the three dots) to its right, then Edit.
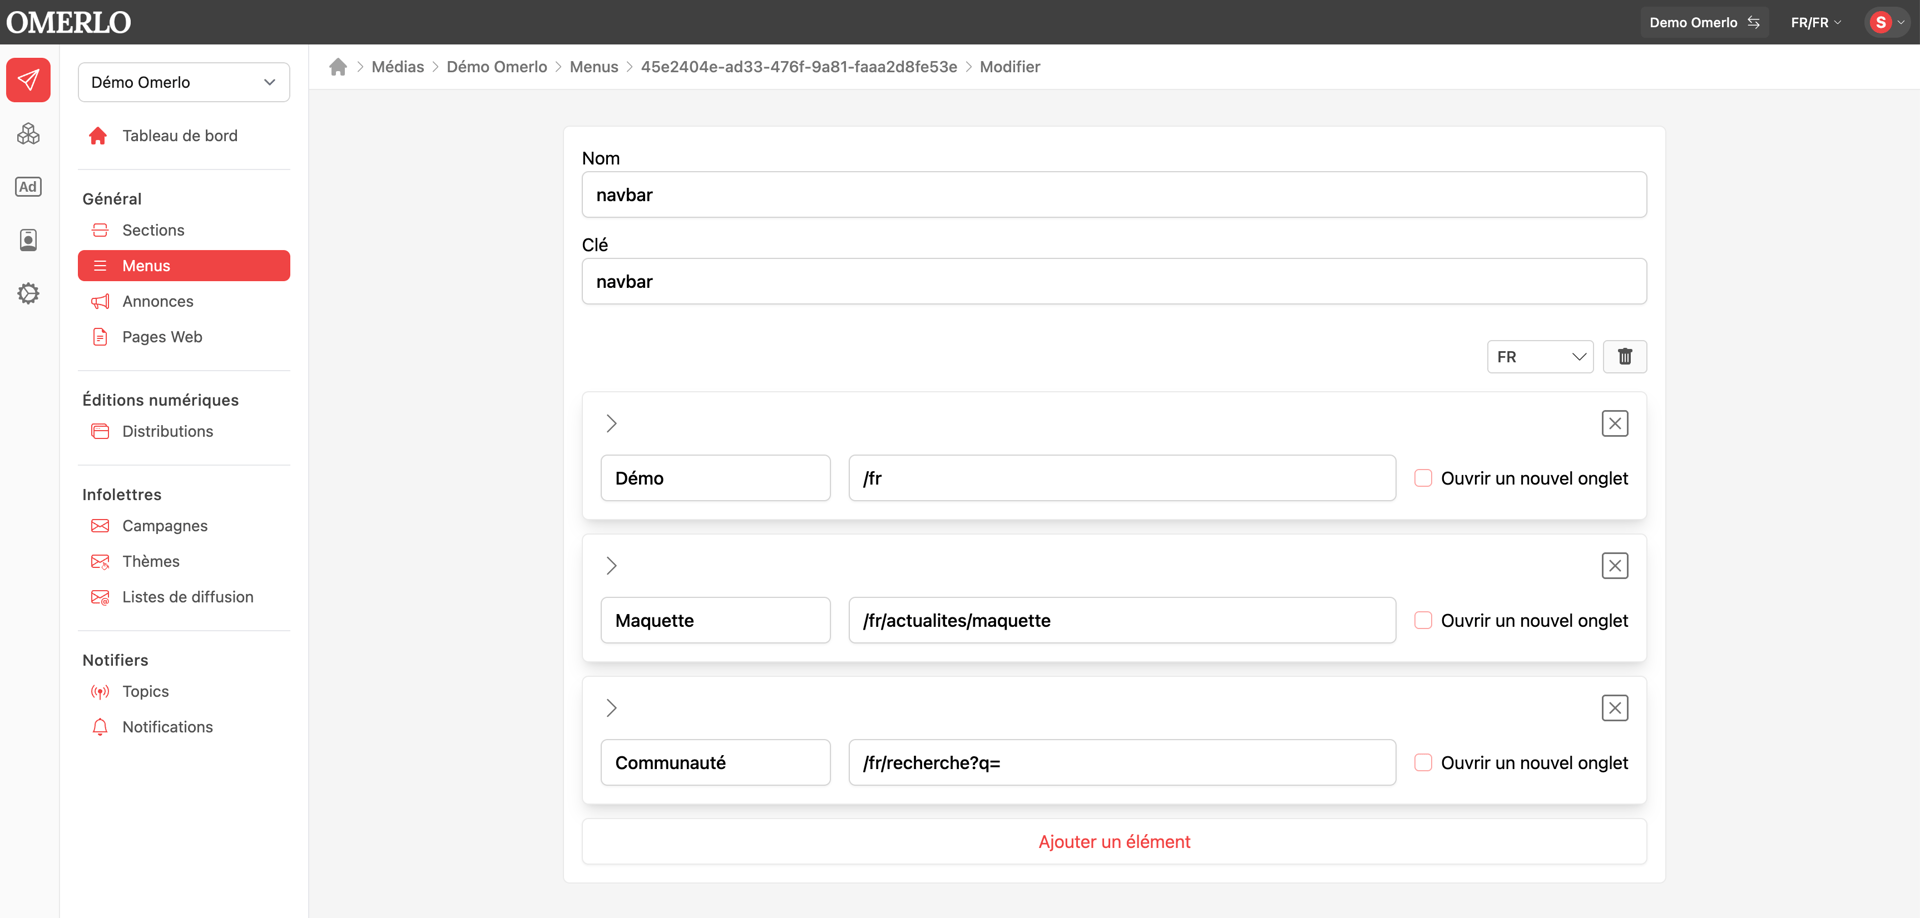
Click Add an item.
In the left field, enter the label (the text shown in the menu). In the right field, enter the destination URL.
For an internal link, enter only the end of the URL (for example /portfolio): this way, if you change your domain name, your links will keep working.
For an external link, paste the full URL (for example https://www.example.com) and check Open in a new tab.
To remove an item, click the delete button (X) to its right. Changes are saved automatically.
Create a sub-menu
You can nest sub-items under an item. This is especially useful for the sidebar and the footer.
Click the arrow to the left of an item to expand it.
In the area that appears, click Add an item, then enter the label and URL of the sub-item, just like a main item.
You can add several sub-items under the same parent.