TUTORIAL
Creating and importing a contact list for newsletters V6
Create a contact list and import your subscribers for your newsletter campaigns.

Understanding mailing lists
A mailing list groups the subscribers who will receive your newsletters. It is managed in two places: you create the list in the Publisher (paper-plane icon), then you add contacts to it in the Reader Hub (contact-card icon in the left sidebar). Imported contacts become "Readers" in your organization.
Create a mailing list
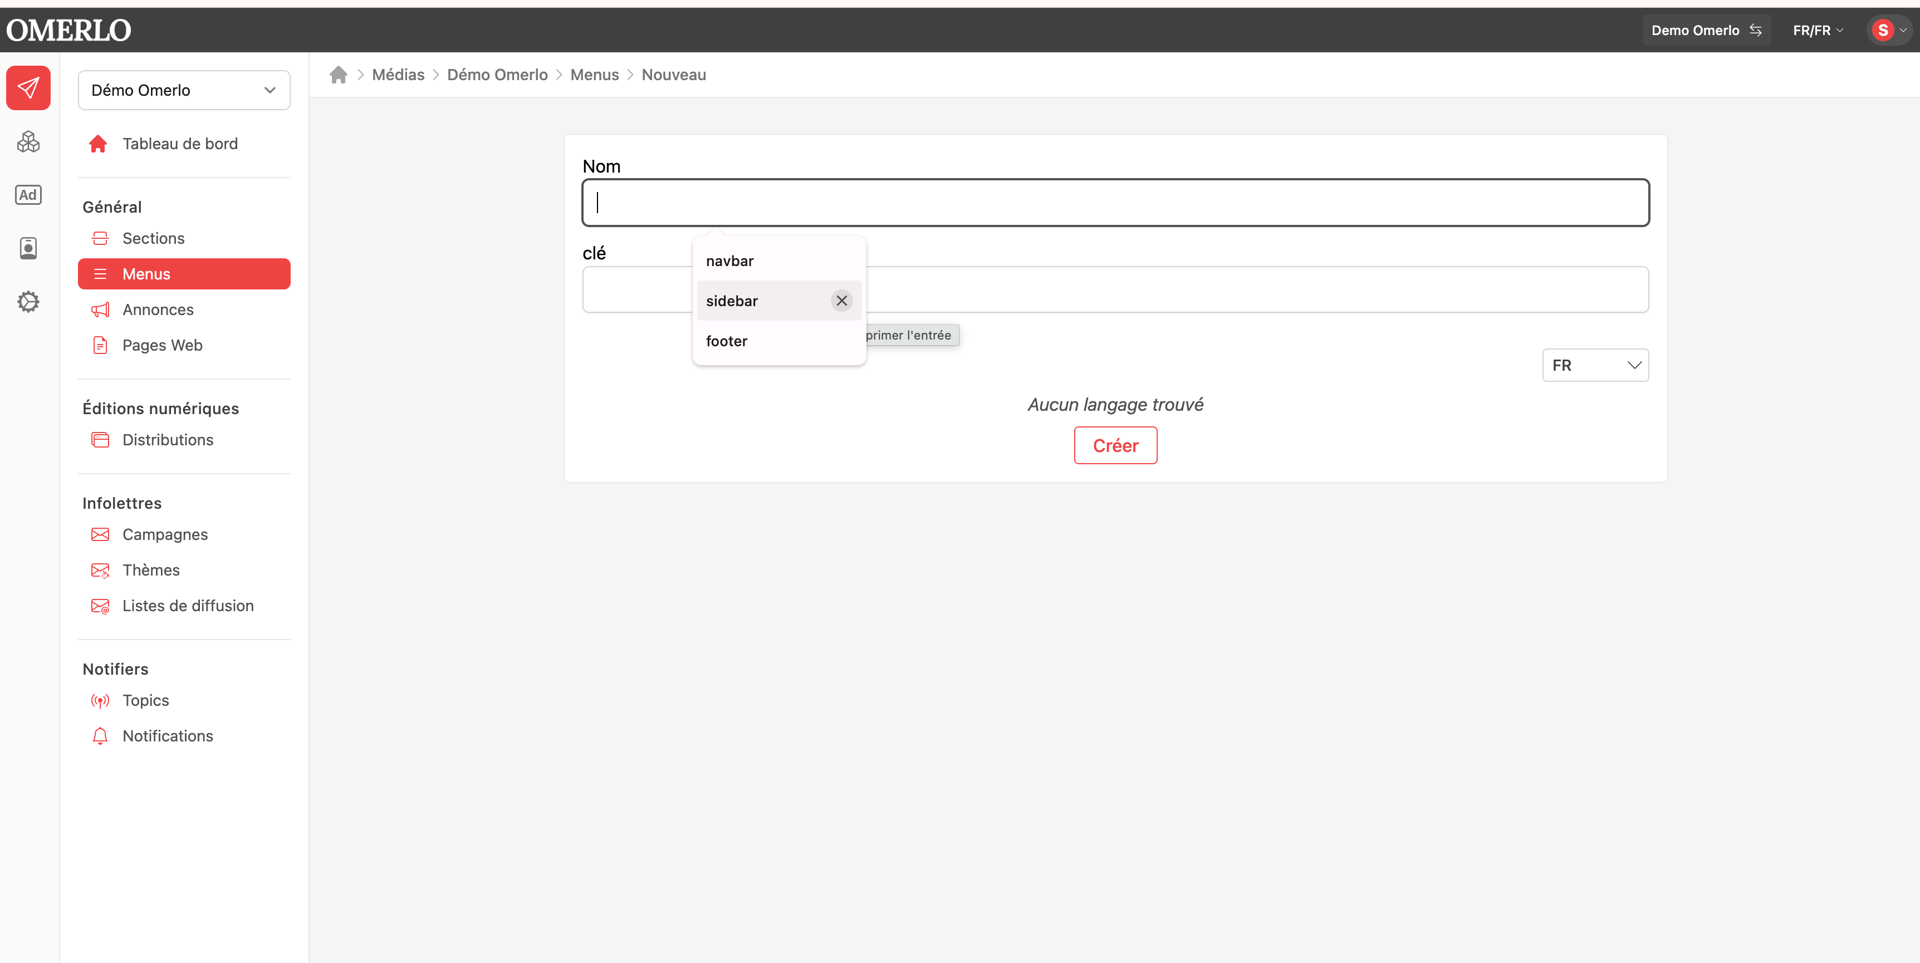
Open the Publisher (paper-plane icon) and select your media from the dropdown at the top left. In the left menu, under the Newsletters section, click Mailing lists, then New.
Choose the list's Visibility (public or private). Then fill in, for each language, the list Name, the sending Frequency (for example "Monthly"), a Description, and a Visual if desired. Click Create to save the list.
Prepare your contact file
Importing is done from a CSV file. The file must contain two header columns: name and email. You can also provide a single column containing only the email address. Each row corresponds to one contact. During the import, existing subscriptions are ignored, and if an address is unknown a new Reader is created automatically.
Import contacts into the list
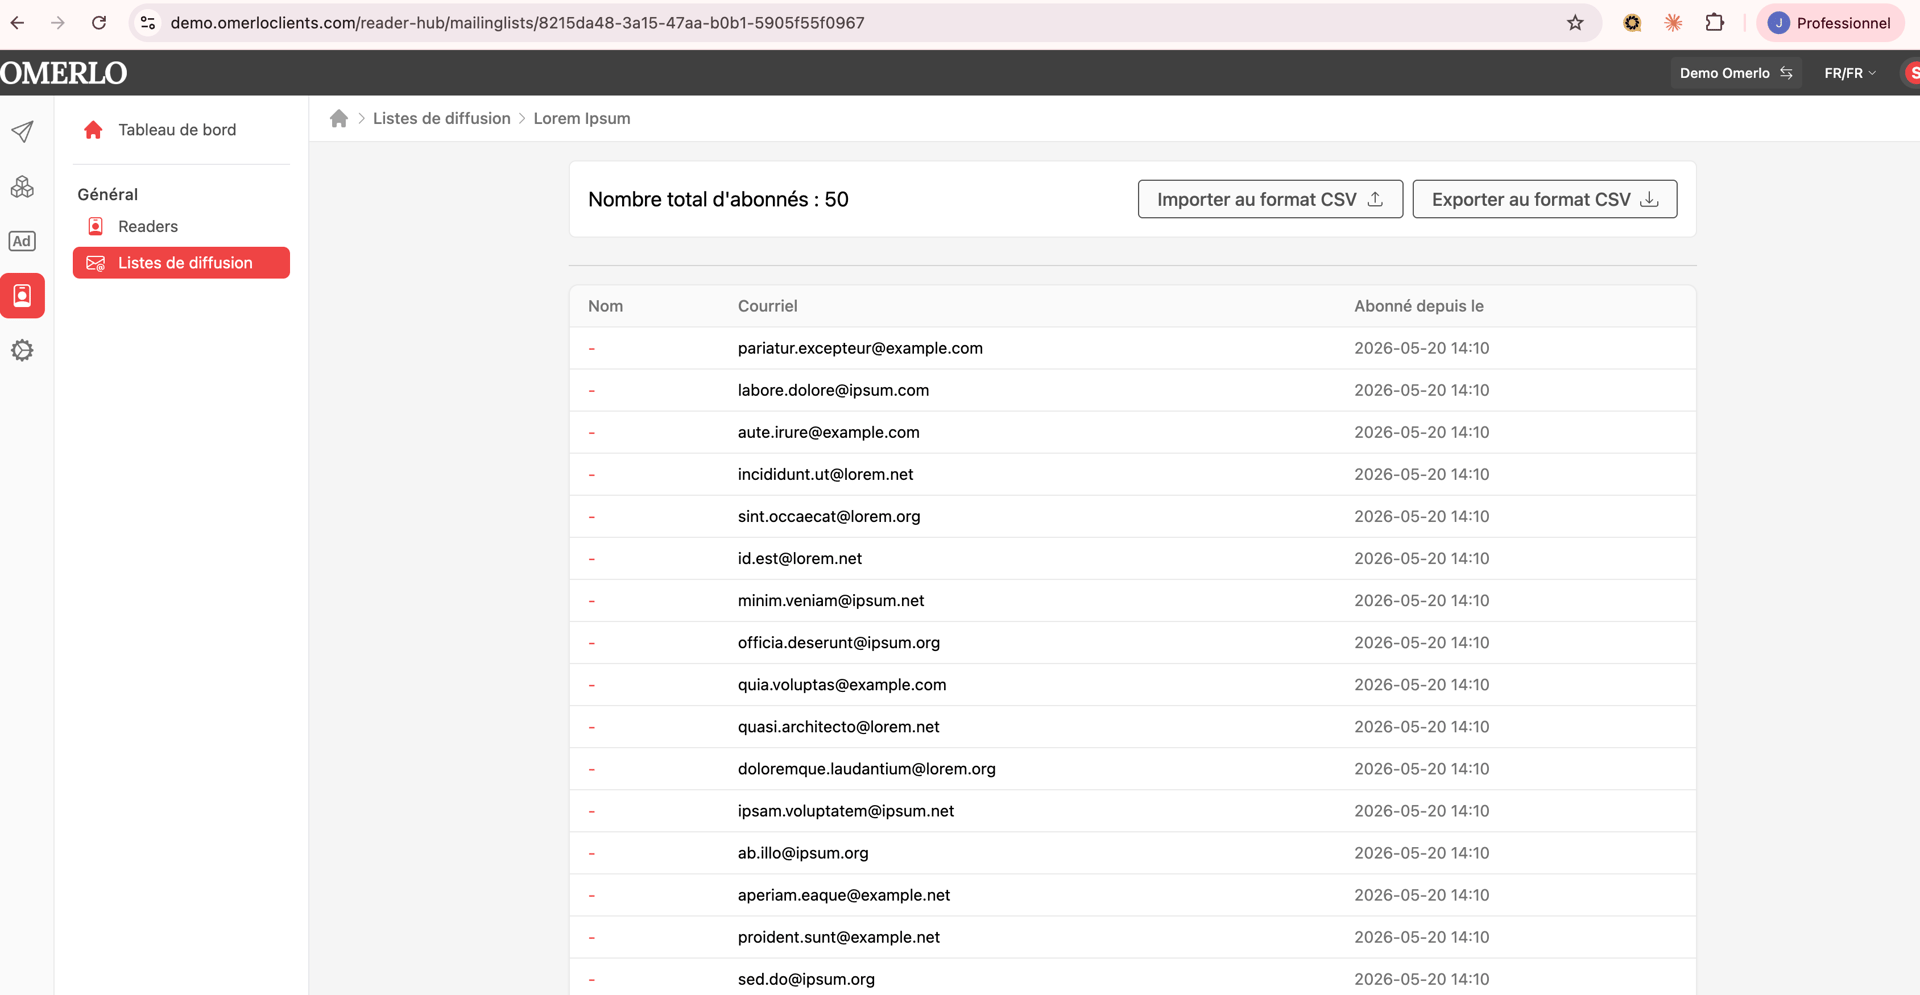
In the left sidebar, click the Reader Hub icon (contact-card). Under General, click Mailing lists: each list is shown with its number of subscribers. Click the list you want to import contacts into.
Click the Import as CSV button (top right). In the "Upload subscriptions" window, click Choose a file, select your CSV file, then confirm. The contacts are added to the list and the total number of subscribers updates.
Check your contacts
All the contacts in your organization can be viewed in the Reader Hub, under General, in the Readers section. You can search for a reader by name or email to confirm they were added. Your mailing list is now ready to be used to send a newsletter from the Campaigns section of the Publisher.