TUTORIAL
Creating an event V6
Learn how to create and configure an event in Omerlo V6. The new Events module lets you manage scheduling, description and address, add an optional form to ask your guests questions, and invite people directly from the CMS.

The Events module at a glance
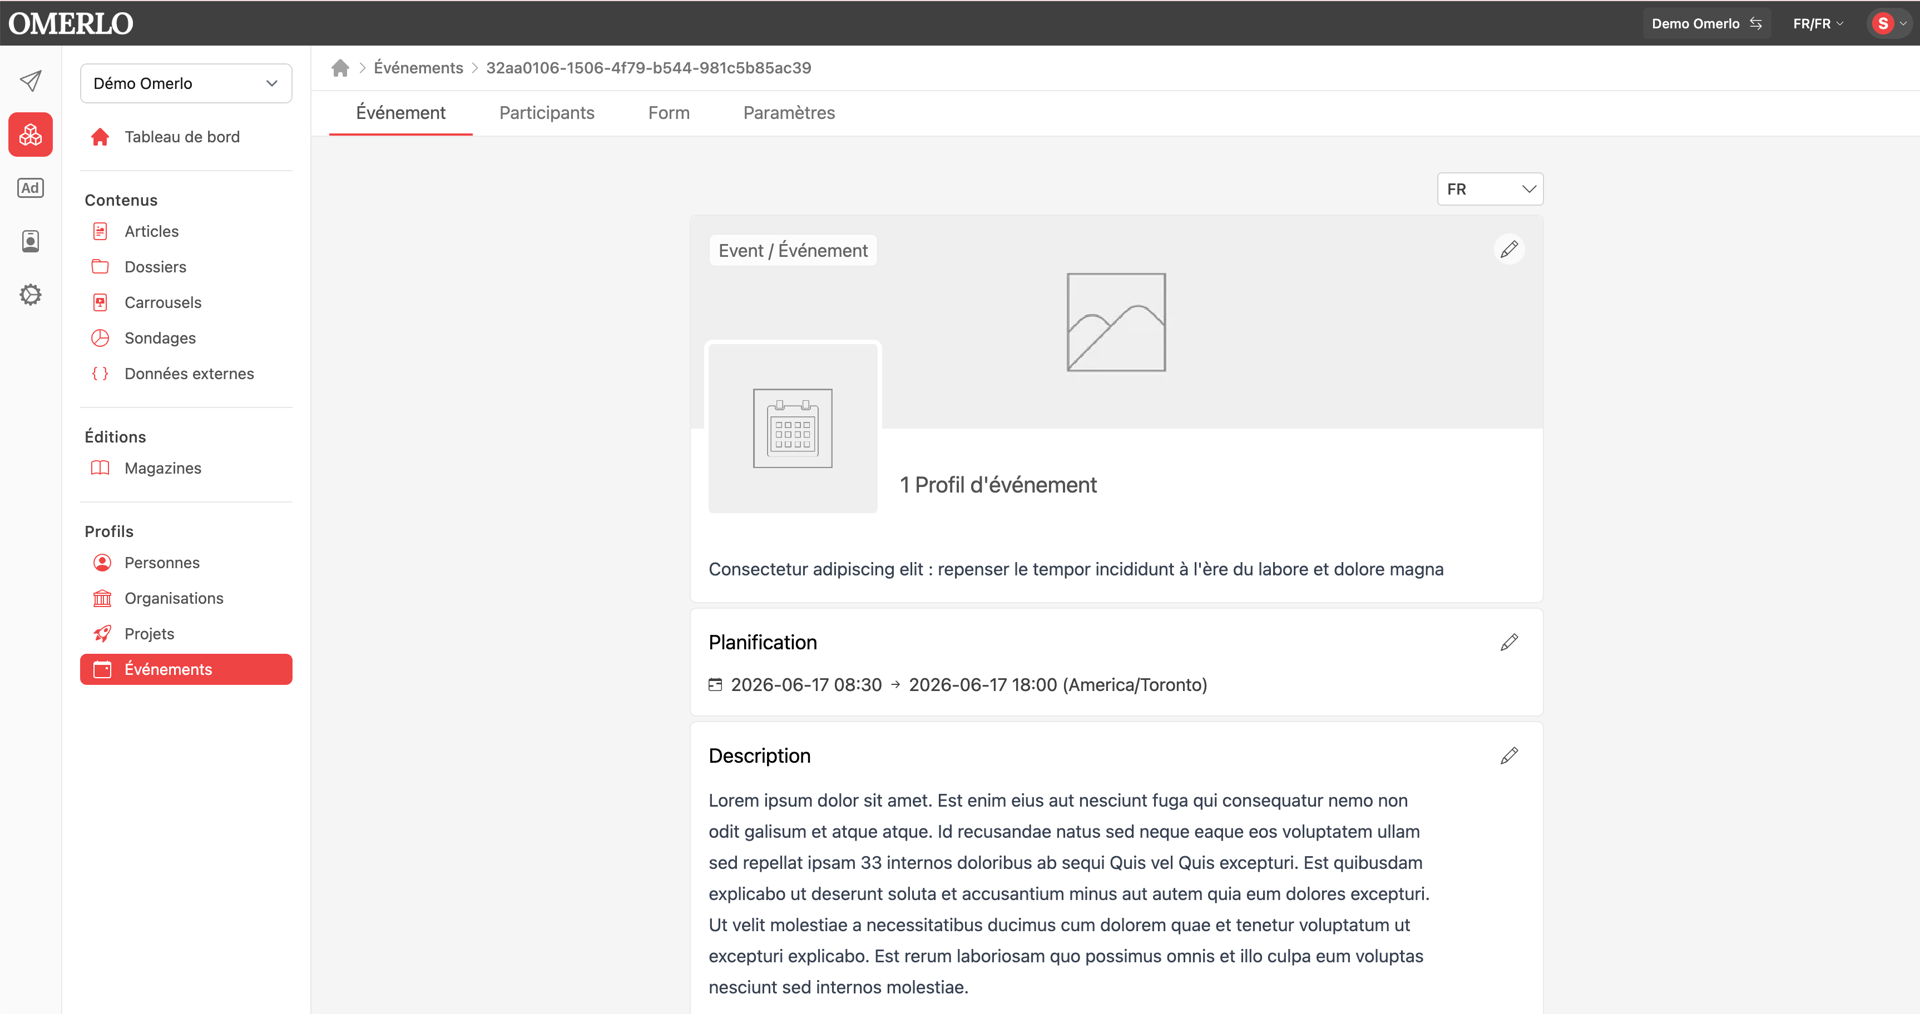
Omerlo V6 introduces a complete Events module, available from the Profiles › Events menu. Events are shown in a monthly calendar, and each event is managed from four tabs.
Event — the main record: visual, scheduling, description, address, contact and content blocks.
Participants — invite people directly from the CMS and track pending invitations.
Form — add an optional form to collect information from participants.
Settings — canonical URL, change of workspace or profile type, and deletion.
Before you start
Make sure you have write access to the relevant workspace. Prepare the event's basic information: its name, start and end date and time, the time zone, and, if applicable, the address and contact person.
Step 1 — Create the event
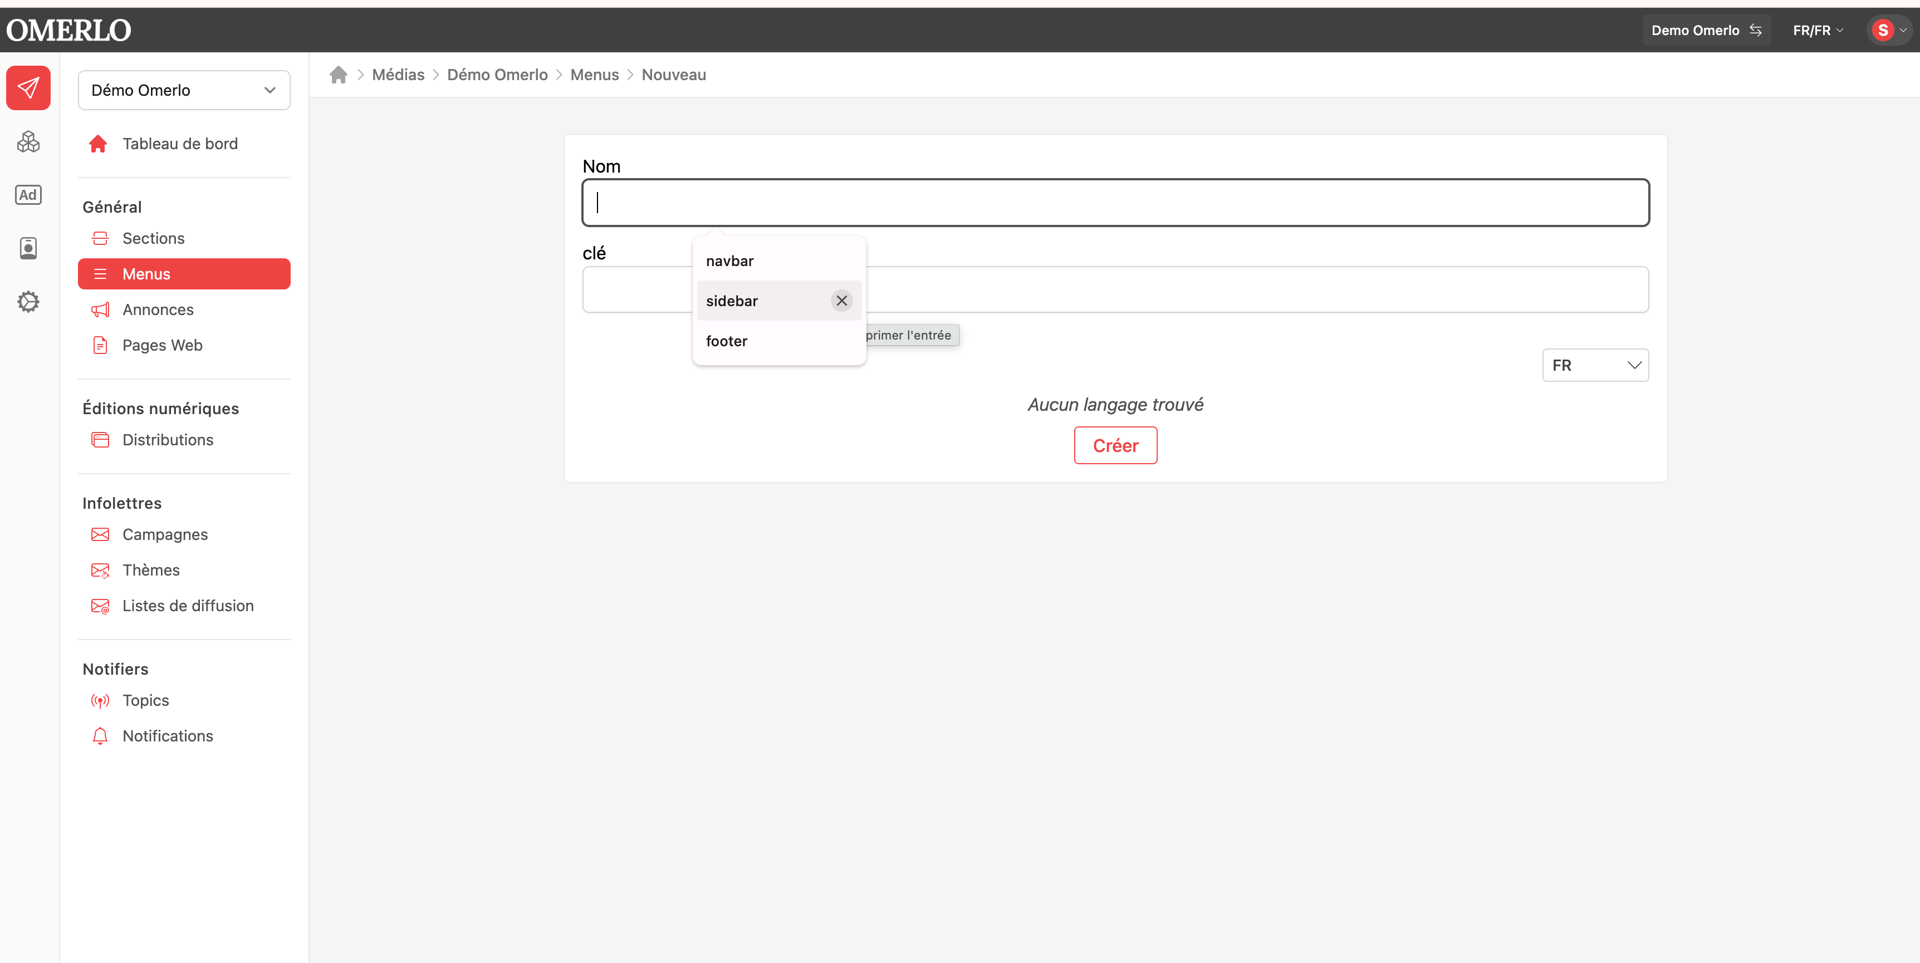
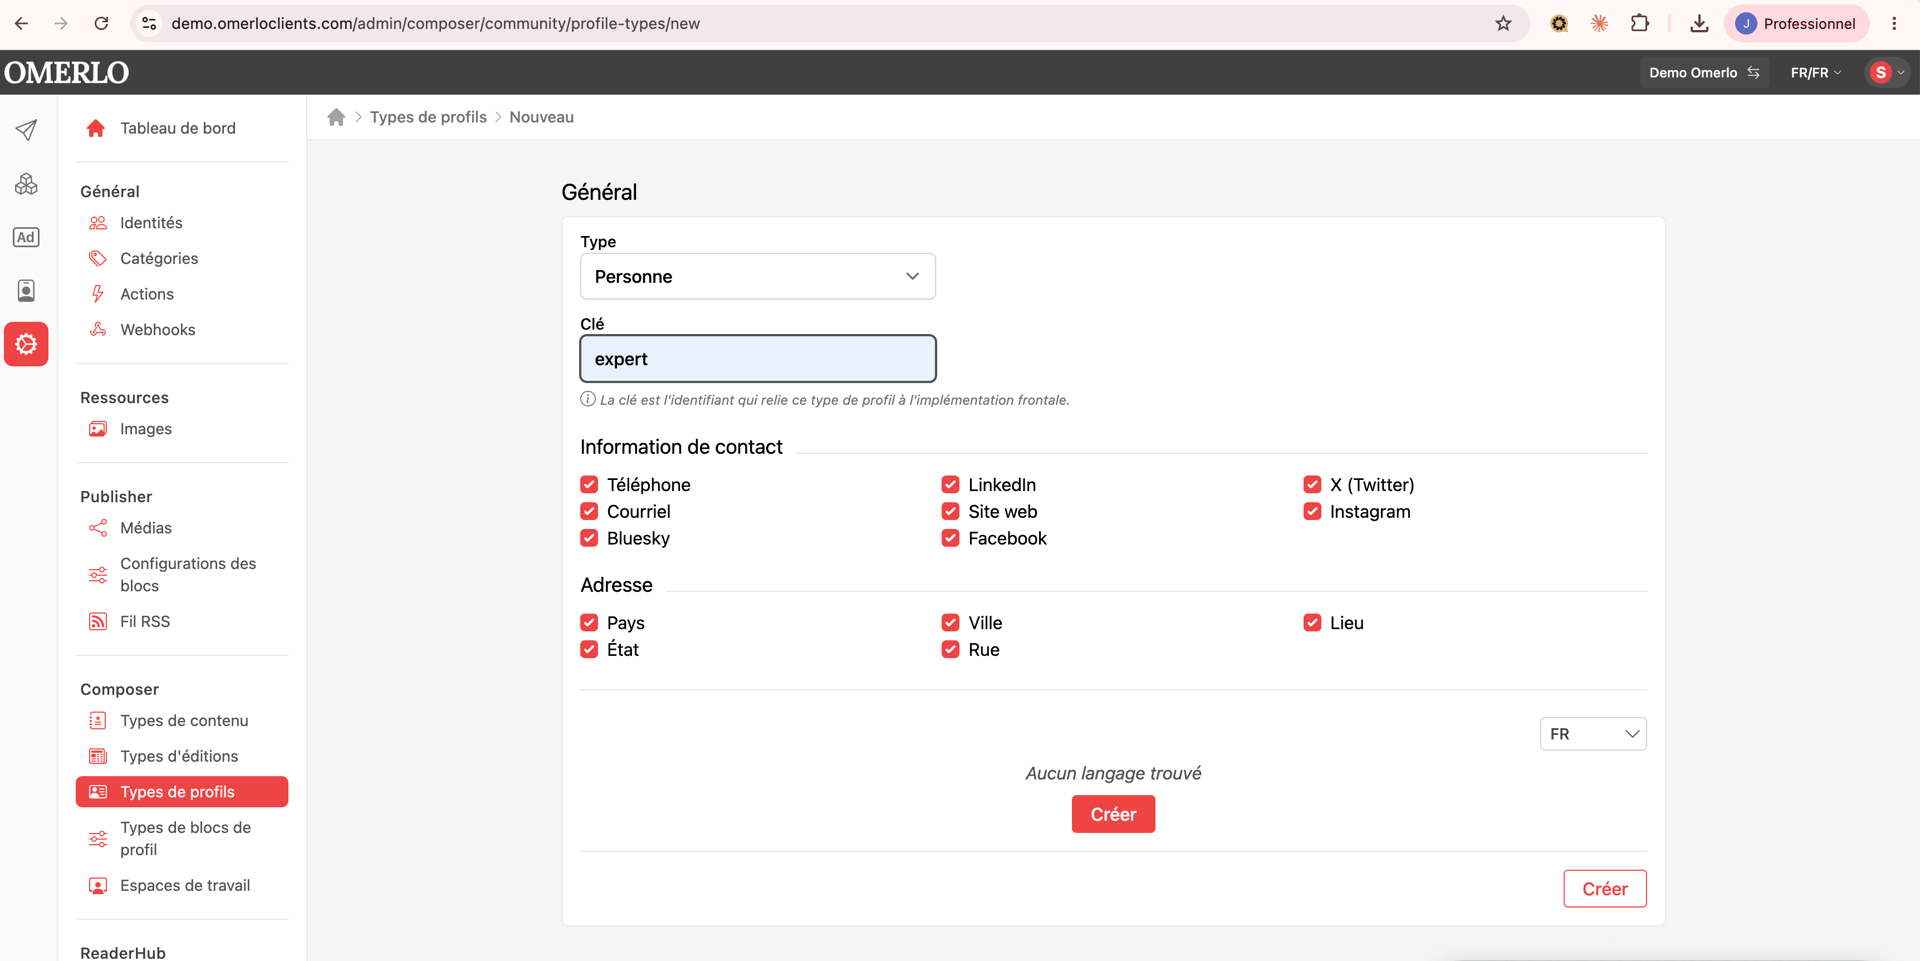
From the Profiles › Events menu, click New. The creation form opens. First select the language (for example EN) then click Create to activate it, which reveals the Name field and the Summary.
Next, fill in the scheduling details: enable All day if the event has no set time, otherwise enter the Start and End date and time. Choose the appropriate Time zone. You can also enter a subscription URL so readers can add the event to their calendar. The status stays Draft until you publish it. Click Create at the bottom of the form to save the event.
Step 2 — Complete the event record
Once the event is created, open it to access the Event tab, where you complete the public record:
Visual — add a cover image for the event.
Scheduling — check or edit the dates, times and time zone using the pencil.
Description — write the event's presentation text.
Address — indicate where the event takes place.
Contact — specify the person or department to reach.
Blocks — enrich the page with content blocks (Text, Image, HTML, Quote, Carousel, Video, Data), exactly like an article.
Step 3 — Set up recurrence
If the event repeats, use the recurrence dropdown in the form. The options adapt to the chosen start date, for example: Does not repeat, Every day, Every week on Monday, Every fourth Monday of the month, On the 22nd day of each month, or Every year on that date. The Custom option lets you define a tailored repetition rule. When you edit a recurring event, Omerlo lets you act on a single occurrence or on the whole series.
Step 4 — Invite participants from the CMS
New in V6: You can invite people directly from the CMS, without any external tools. Open the Participants tab, then click Add. A search window will open, allowing you to enter the email addresses of the people you want to invite to your event. The View pending invitations link lets you track invitations awaiting a response. The participant list updates automatically as responses are received.
Step 5 — Add an optional form
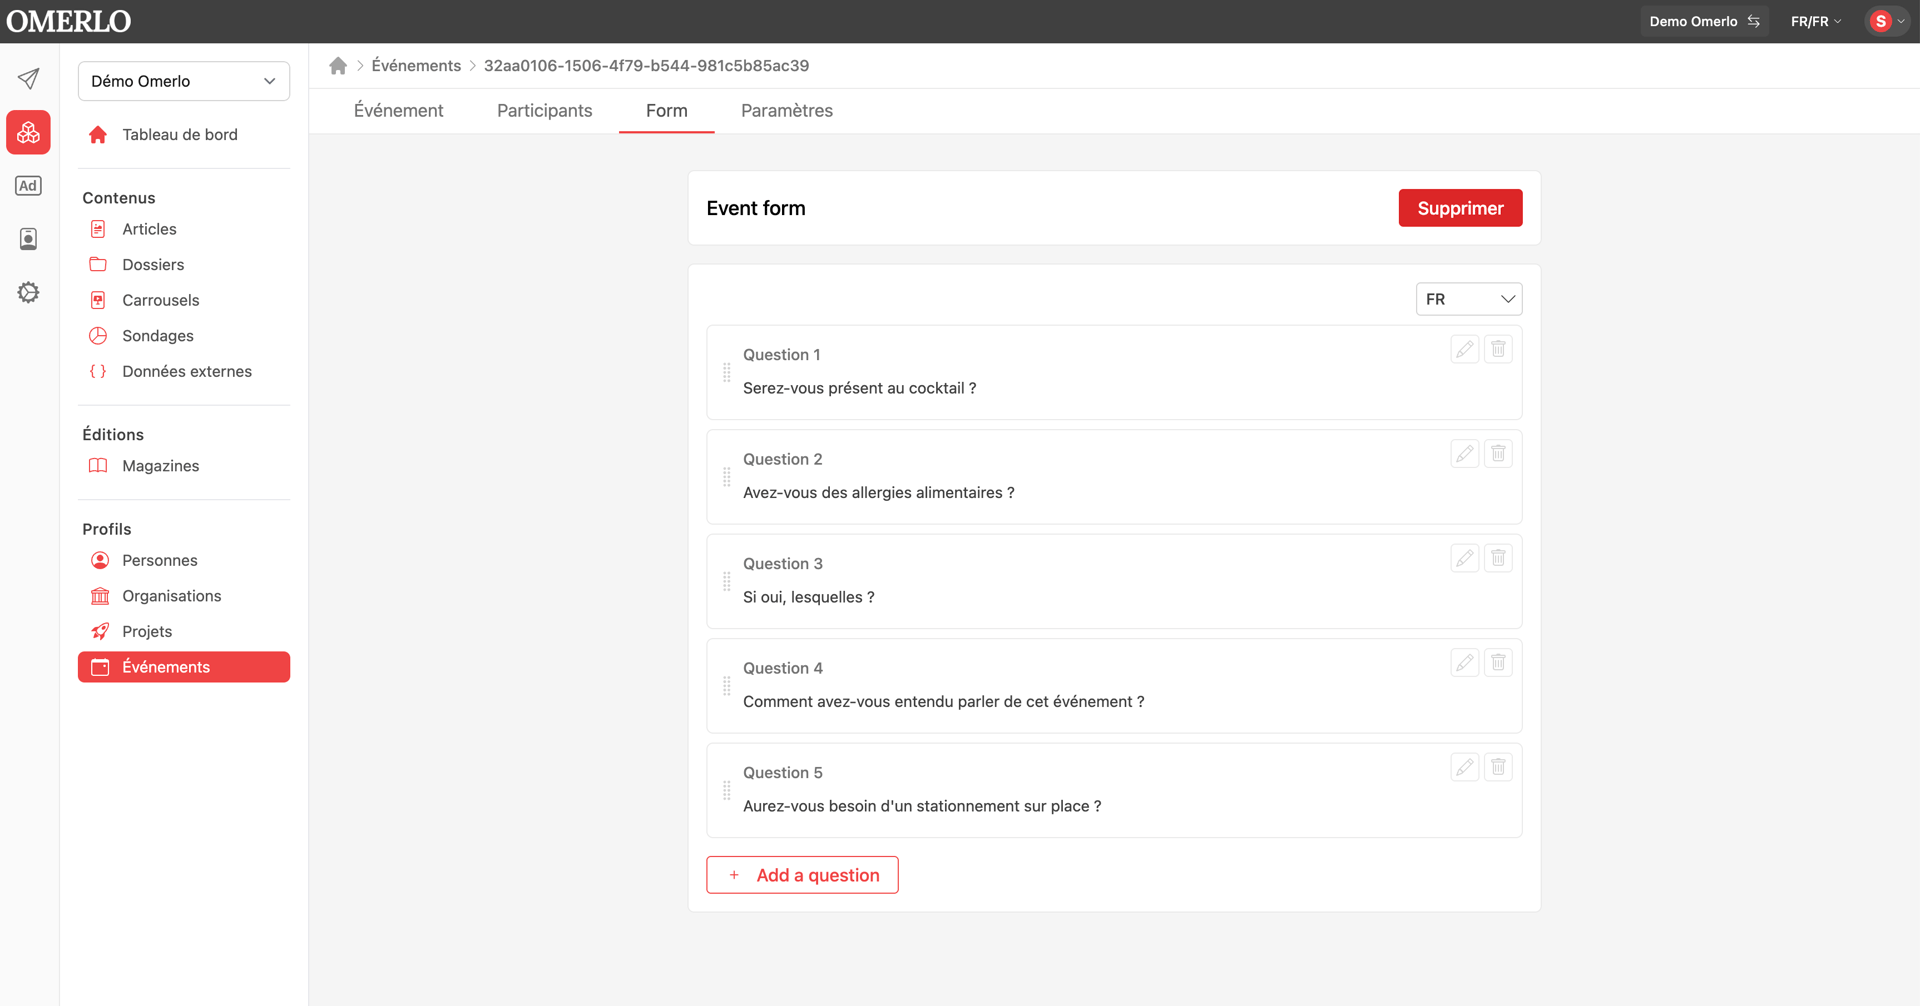
Another new feature: an optional event form, useful when organizers have questions to ask their guests. Open the Form tab. As long as no form exists, a message invites you to create one to collect information from participants. Click Create to generate the form, then Add a question to add a question. Each question is written in a rich-text editor (bold, italic, underline, link) and has its own language. Add as many questions as needed, then save. The form remains optional: leave it empty if you have no questions.
Step 6 — Settings and publishing
The Settings tab gathers the canonical URL (only use it if the event comes from an original source hosted elsewhere) as well as a Danger zone: change workspace, change profile type, or delete the event. Deletion is permanent and removes all occurrences.
When the record is complete, change the status from Draft to published to make the event visible to your readers.
Step 7 — Export the Attendee List
Omerlo allows you to export the complete list of attendees for your event to a file. Open the Attendees tab, then click the Export button. You will get a file containing the information for each attendee, as well as the answers to the registration form questions if you created one. This file can then be opened in a spreadsheet to easily manage your guest list.
In summary
The V6 Events module brings together, in one place, the event record, its recurrence, invitations sent from the CMS and an optional form for guests. Create the event, complete its record, invite your participants, add a form if needed, then publish.