TUTORIAL
Adding a new user V6
Add a new user to your workspace and grant them the right access.

Invite a new user
In the left-hand menu, open the Admin section (gear icon), then under General, click Identities. The Identities page lists everyone who has access to your organization.
Click the Invite button at the top right. Enter the Email of the person you want to add, then click Invite. The person receives an email inviting them to join the organization and sets their own password. New in V6: you no longer create the account or set a password on their behalf.
Add the user to a workspace
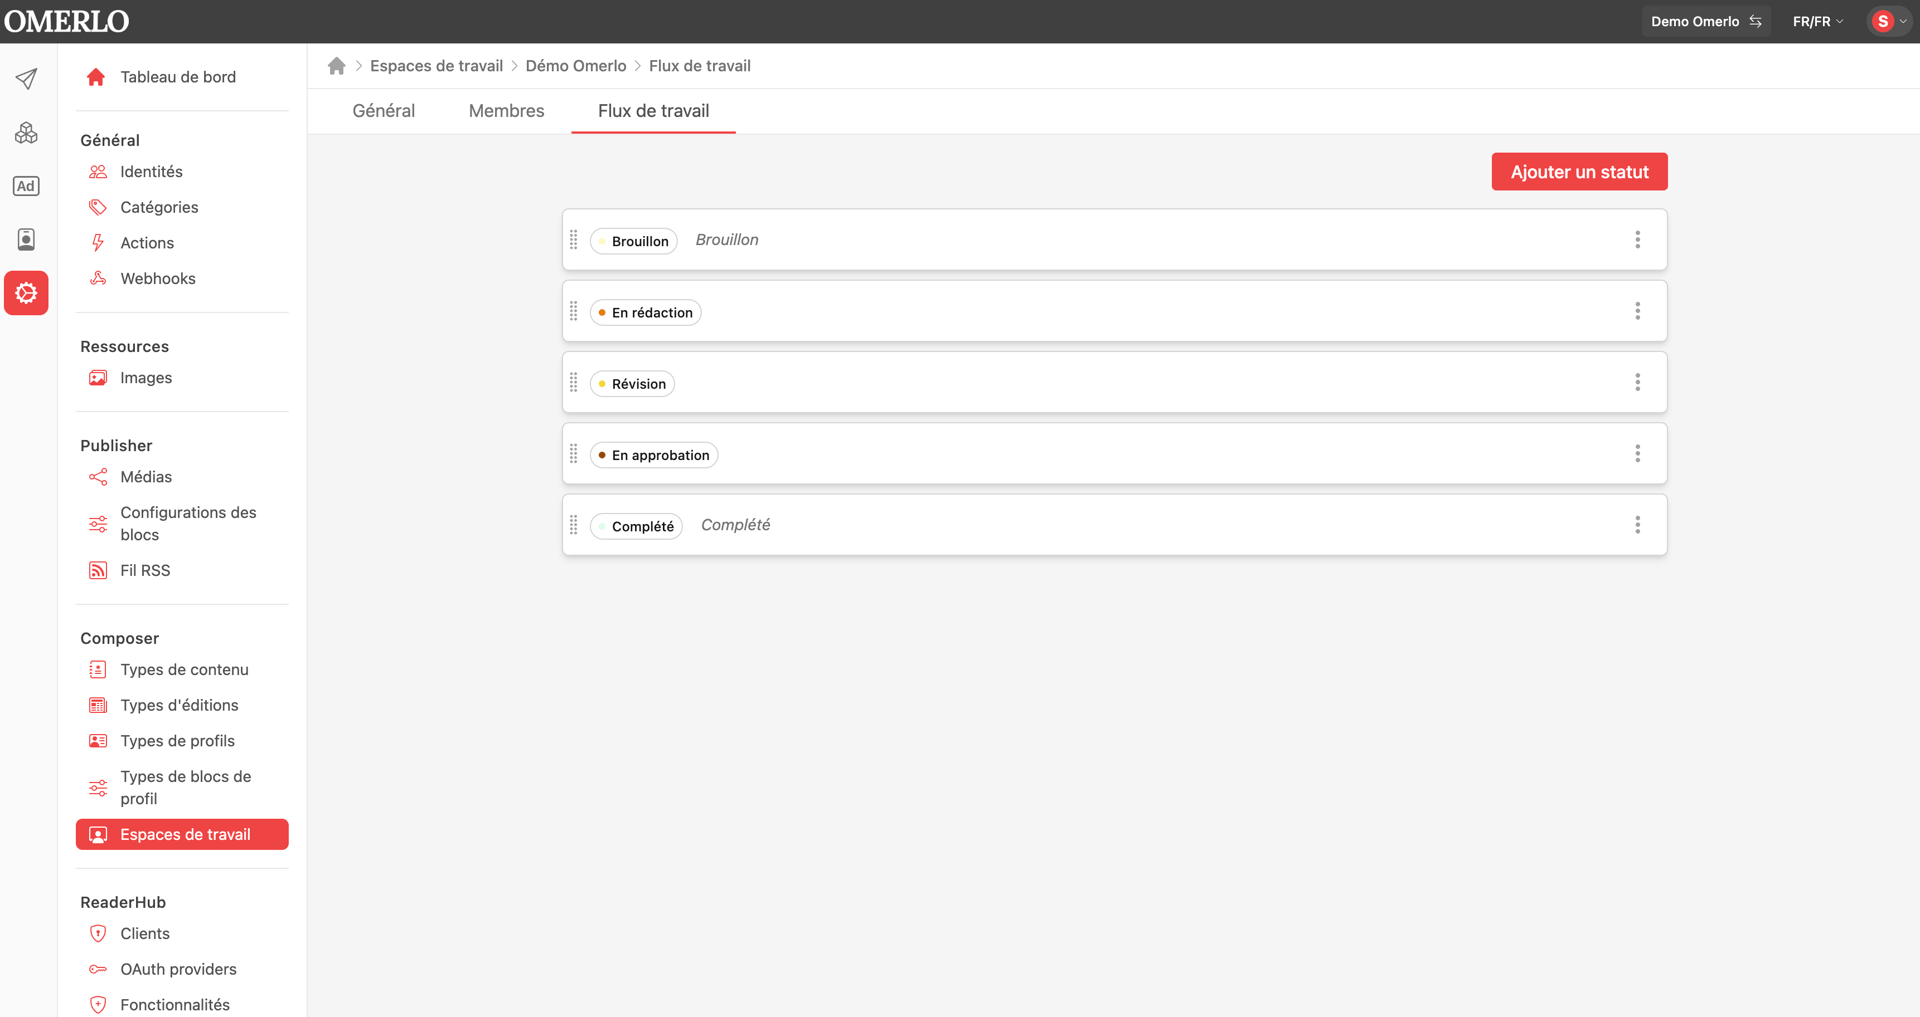
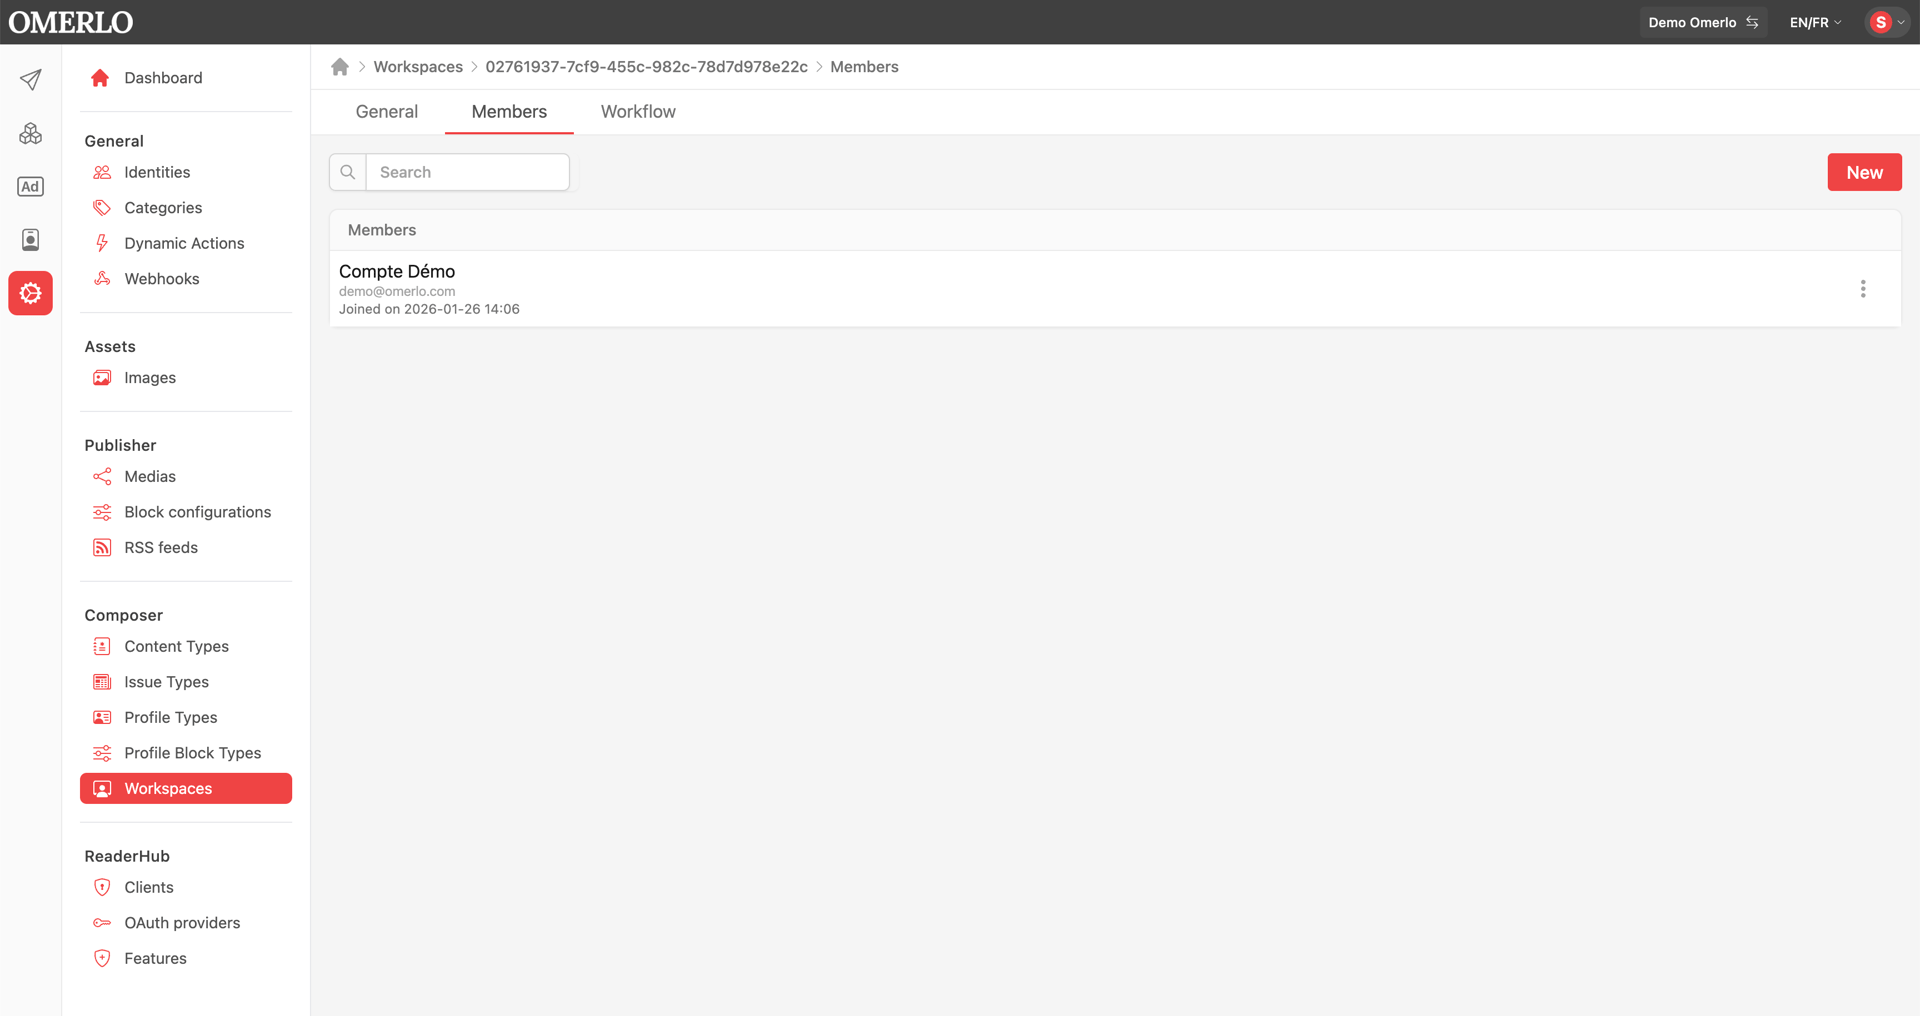
Once the user is invited, you need to give them access to a workspace. In Admin, under Composer, click Workspaces, then select the workspace (your media) you want.
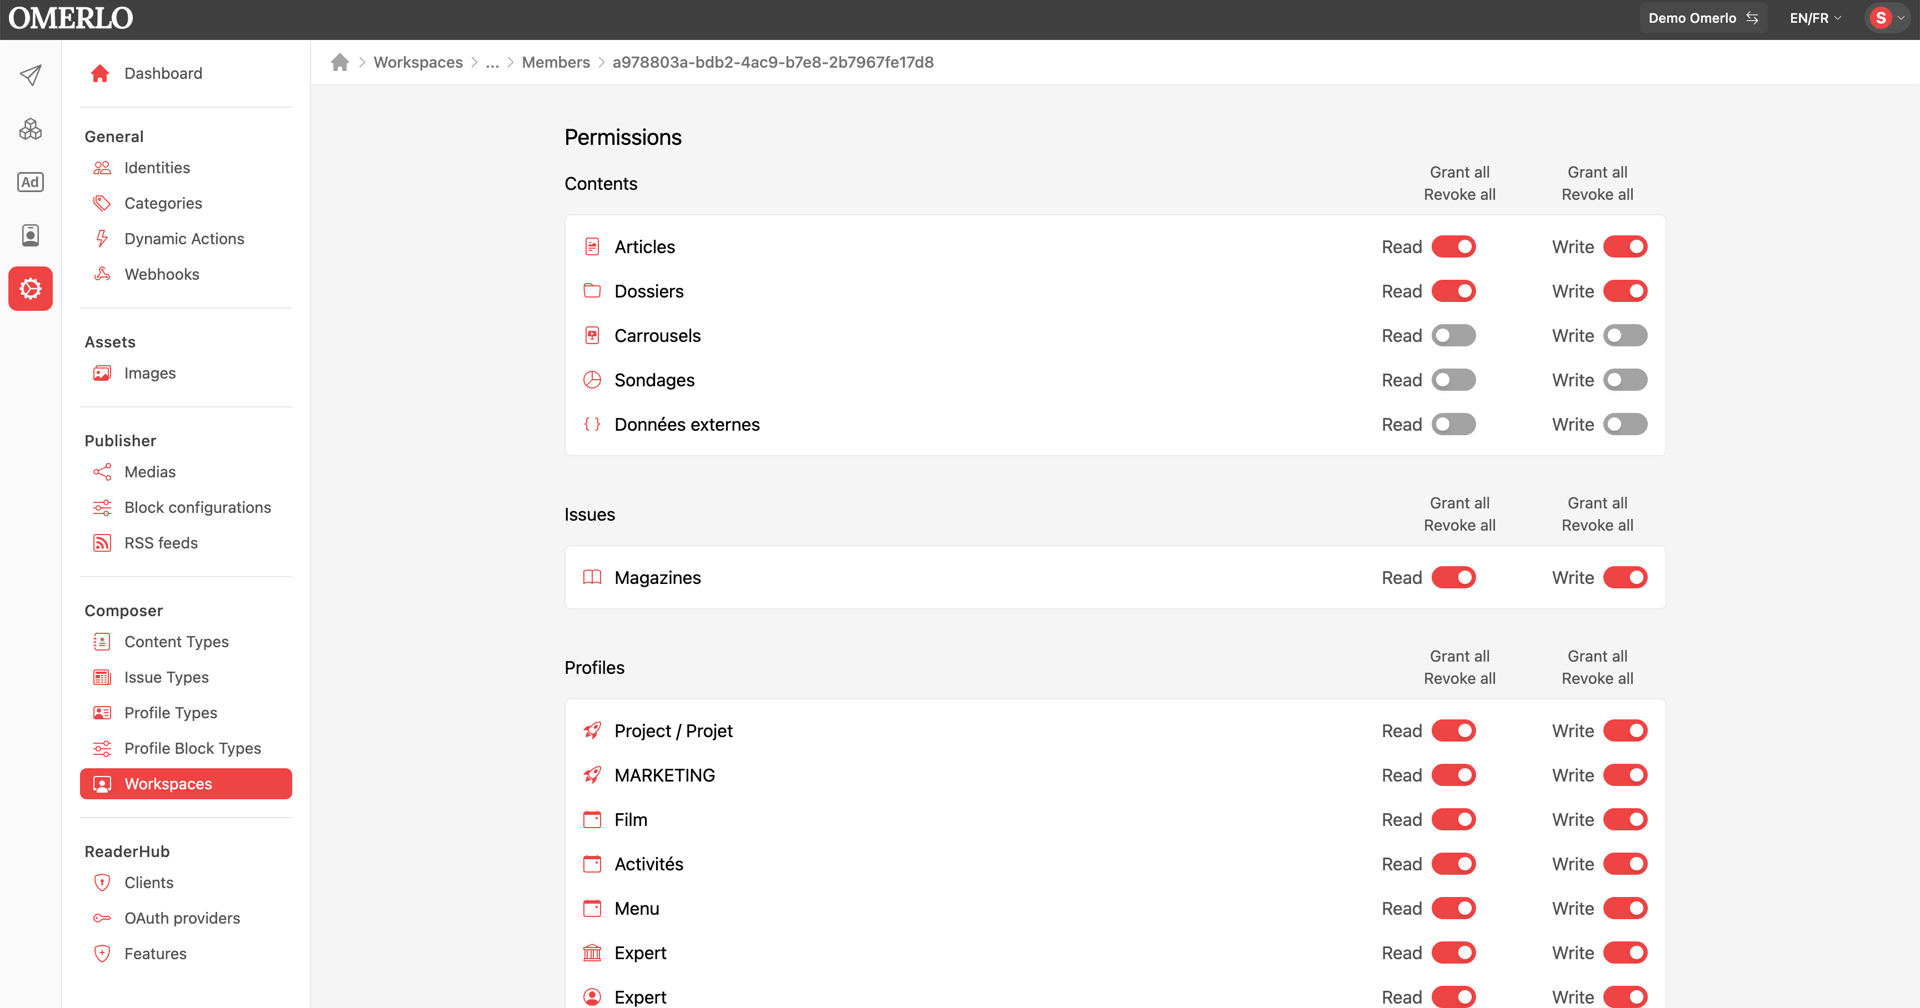
Open the Members tab, click New, then search for and select the user. On the permissions page, click Allow all to let them use every content type and profile, or check the specific Read and Write access you want, then save.
Grant the administrator role
To make a user an administrator, go back to Admin, the Identities section, and click the person's name. Scroll down to the Danger zone at the bottom of their profile.
Click Promote to administrator role, then the Promote button. The administrator then gains all privileges over the organization.
Assign roles (non-administrator user)
For a user who is not an administrator, open their profile in Admin, the Identities section. In the Media roles section, check, for each relevant media, the roles you want to assign (for example Media manager, Publication manager or Topic manager).
If needed, also assign roles in the AdOps roles and Reader Hub roles sections. Roles determine what the user can view and edit in each media.