TUTORIAL
Managing workspaces V6
Learn how to create a workspace in Omerlo V6, add users with their permissions, and affiliate workspaces to share and distribute content.

Creating a new workspace
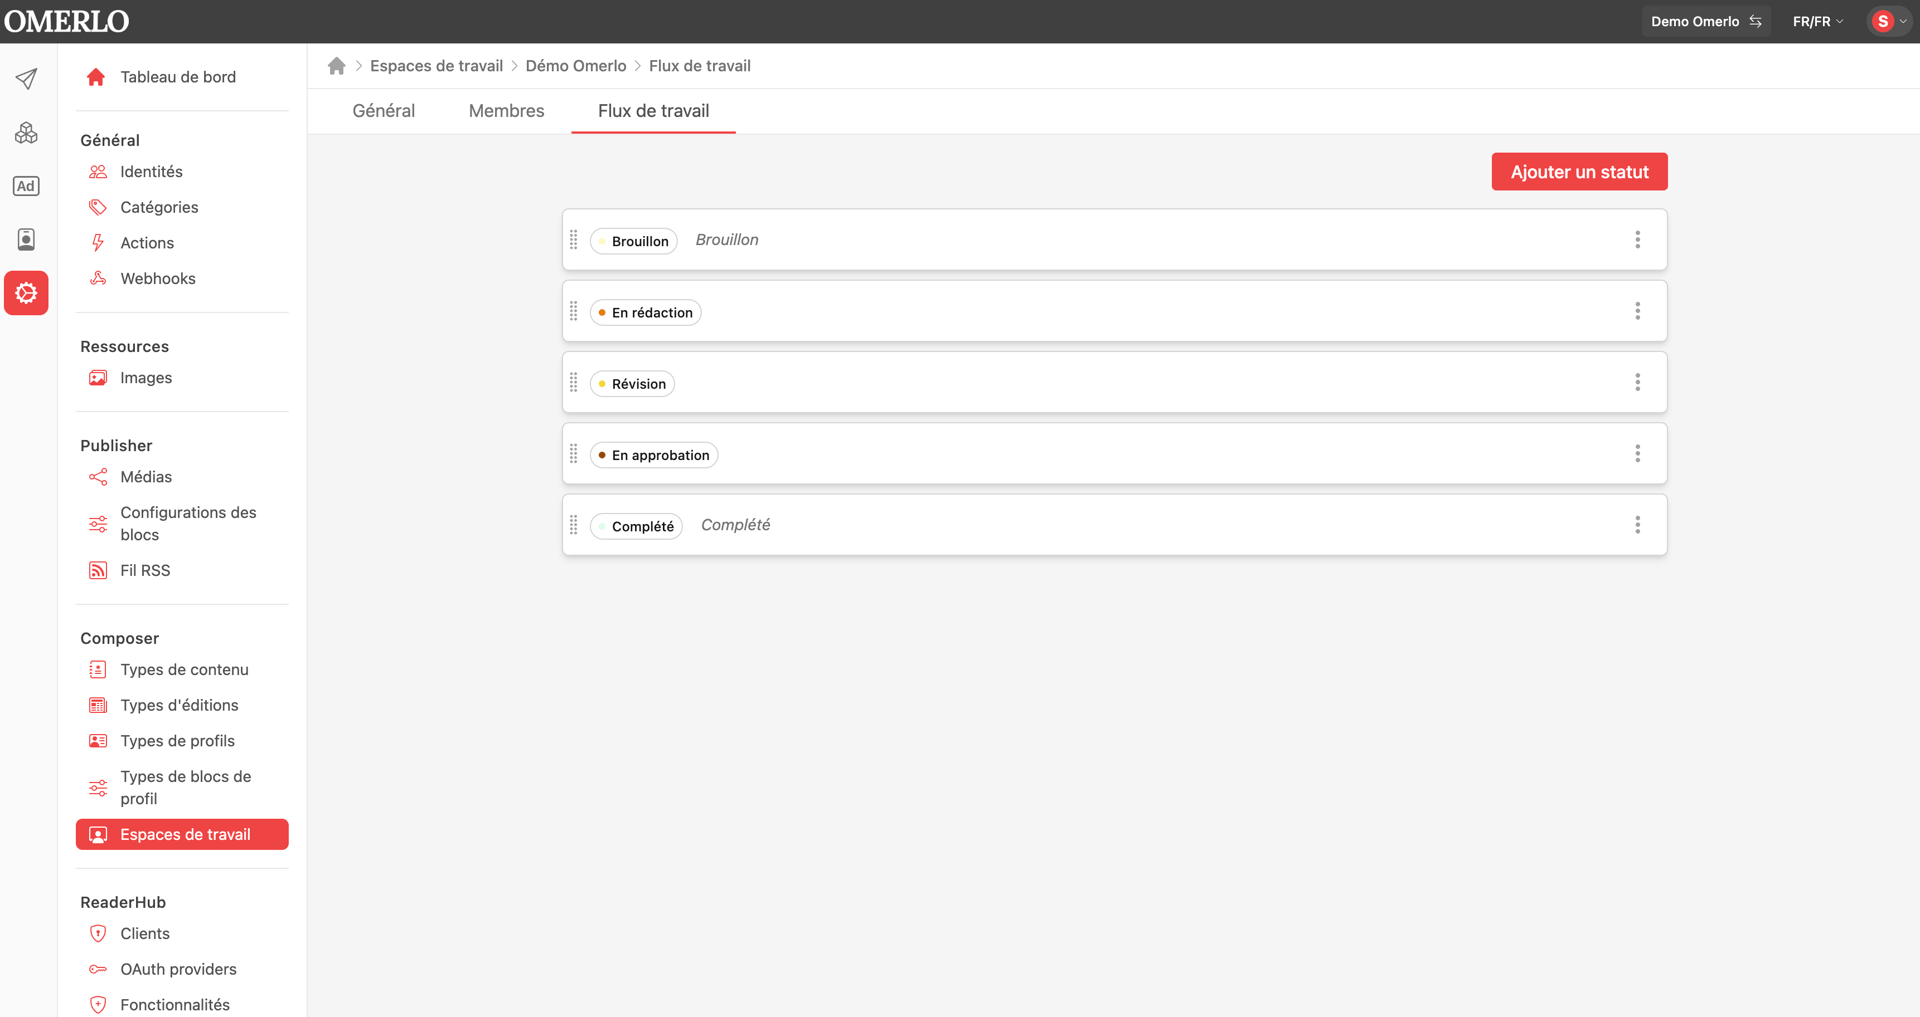
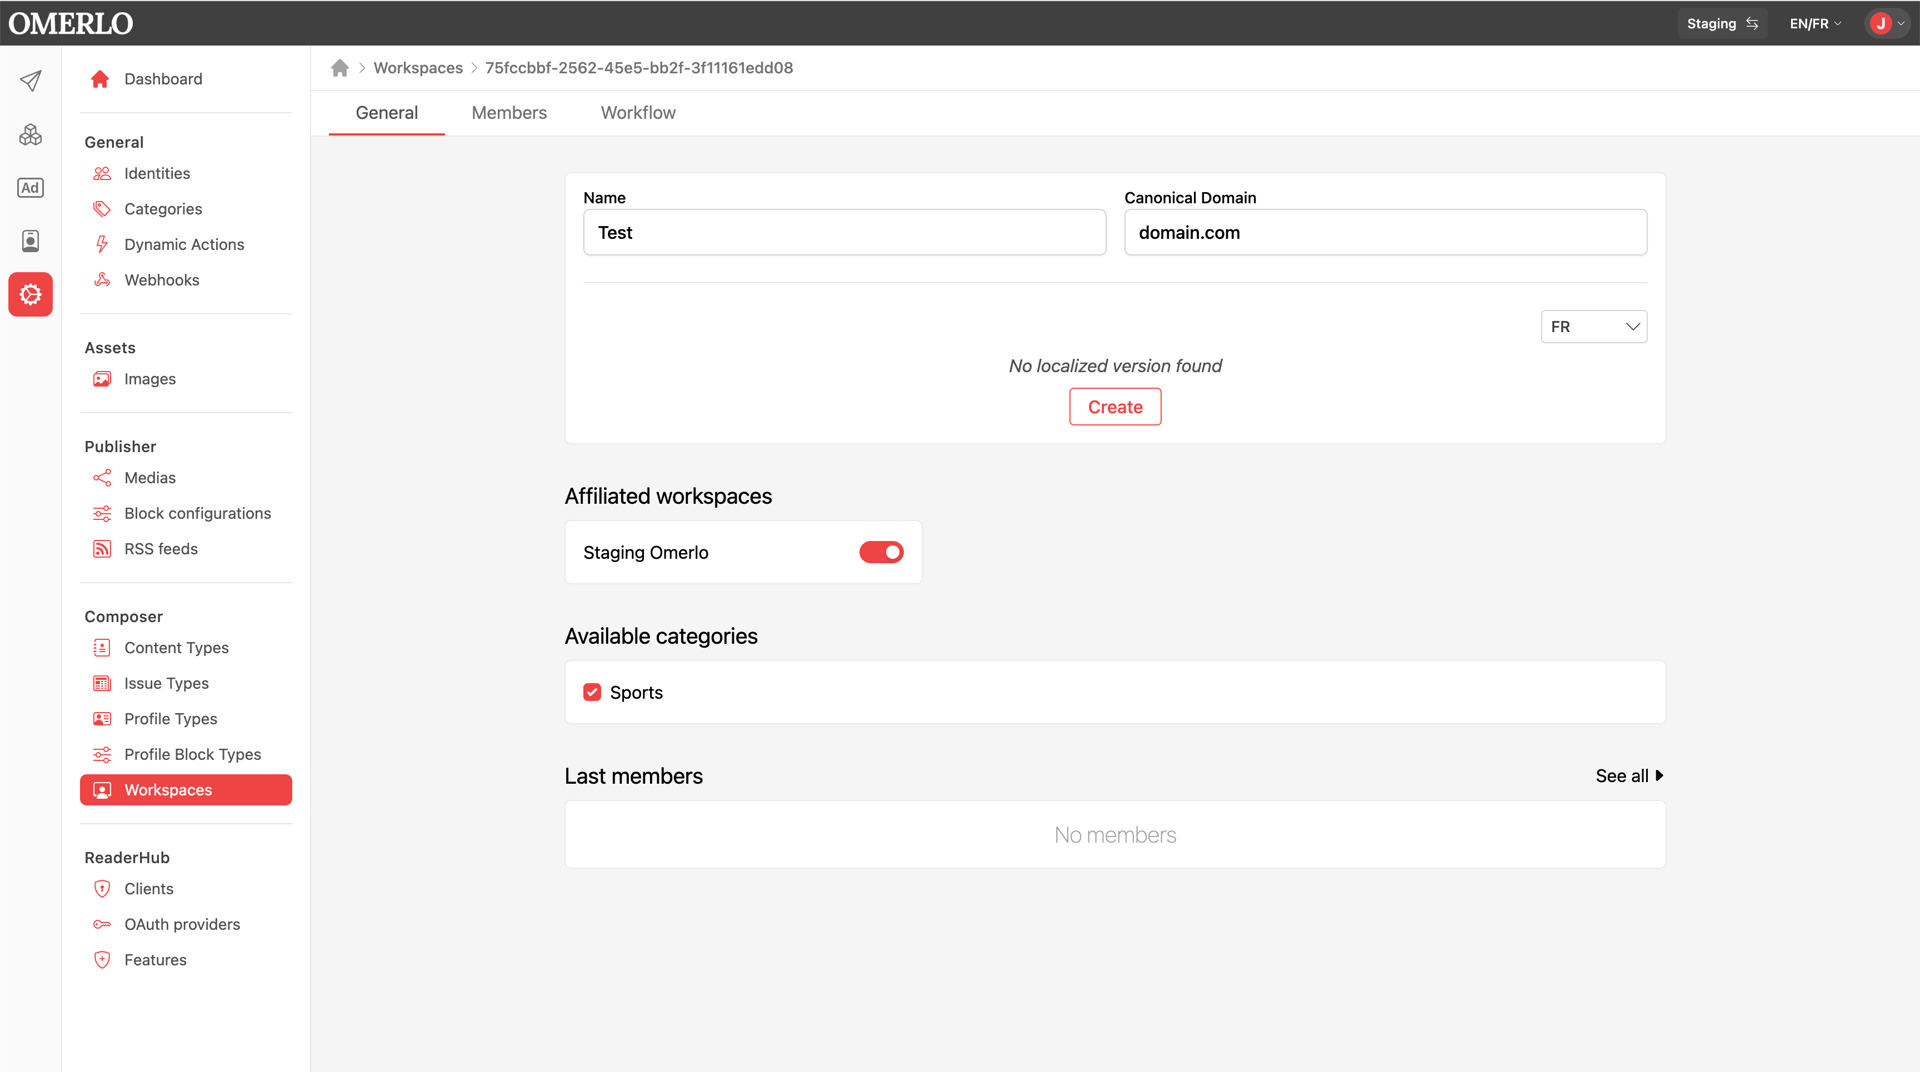
In the left bar, click the Administration icon (gear). Under Composer, select Workspaces (Espaces de travail), then click Nouveau.
Fill in the Name field to name your workspace. You can also set the canonical domain (Domaine canonique) and the Initial status. Then select the language (for example FR) and click Créer to activate the description, then click Créer at the bottom to save the workspace.
Adding a user to the workspace
Open your workspace by clicking its name, then open the Membres (Members) tab. Click Nouveau at the top right: an "Add a workspace member" window opens. Search for the person to add and click their name when it appears.
On the permissions page, grant the desired rights. Use Tout autoriser (Allow all) to give access to all content, edition and profile types, or set permissions one by one. For each type you choose Lecture (Read) and/or Écriture (Write): Read only lets the user view content, while Write lets the user create and edit content. The Tout autoriser / Tout révoquer (Allow all / Revoke all) buttons speed up configuration per section.
Affiliating workspaces
Go back to the relevant workspace and open the Général tab. In the Espaces de travail affiliés (Affiliated workspaces) section, toggle on the workspaces you want to share content with so it can be displayed on their media.
Notes: affiliation does not have to be reciprocal; it depends on the display you want. To publish an article in an affiliated workspace, the workspace used to display the content must be associated — otherwise publishing on that workspace won't be possible. The same applies to displaying profiles.