TUTORIAL
Advertising management: advertisers and categories V6
Manage your advertisers and ad categories to monetize your media.

About advertising management
The AdOps section gathers the management of advertisers and the categories that structure your media's advertising. You reach it through the AdOps icon in the sidebar. The dashboard shows the number of advertisers, ads, ad visuals and categories.
Create a category
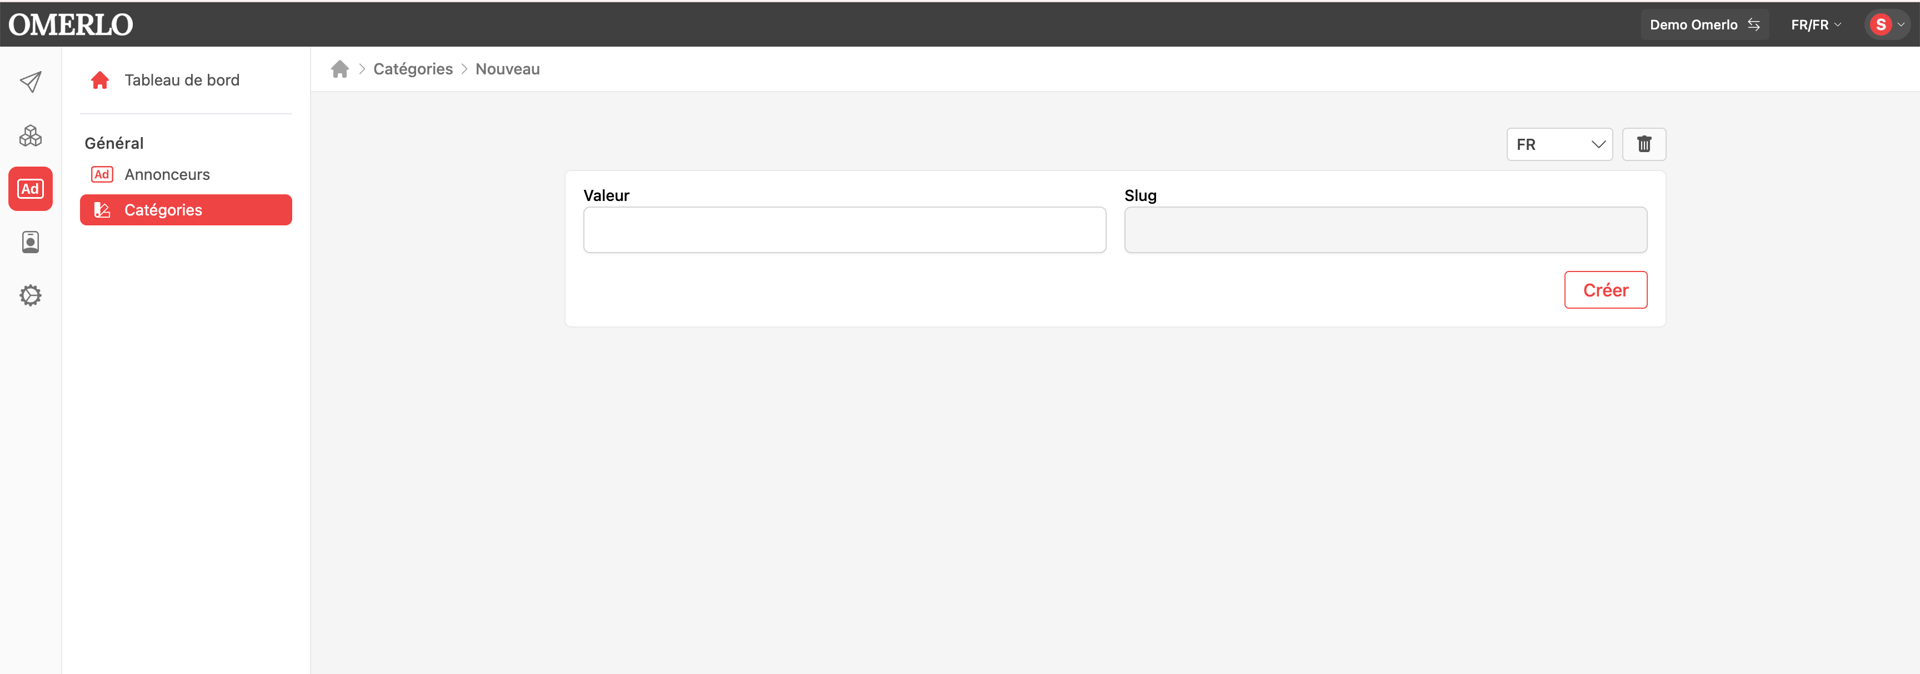
In AdOps, open Categories, then click New. Choose the language, enter the Value (the category name); the Slug is generated automatically. Click Create. Categories are used to classify your advertisers.
Translate a category
In a category's editor, use the language selector (FR/EN), then click Create to add the version in the other language. This gives you a translated category (for example "Catégorie 1" and "Category 1 EN").
Create an advertiser
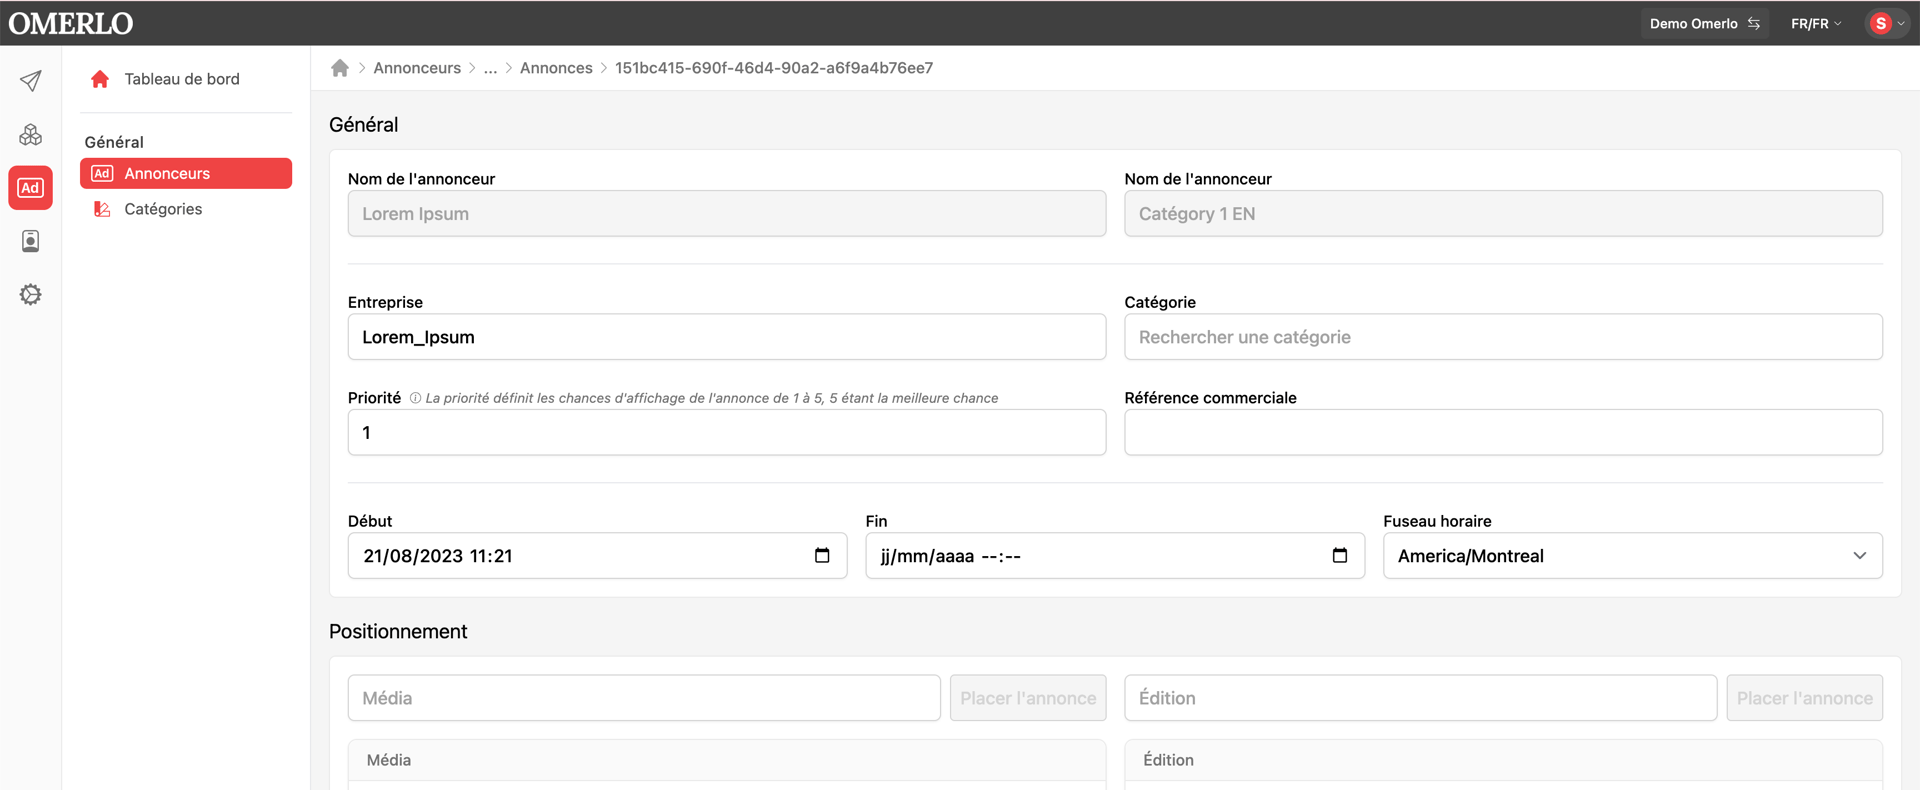
In AdOps, open Advertisers, then click New. In the General section, fill in the Company, Contact name, Phone, Email, Category and Commercial reference, then click Create.
Enter the address
In the Address section, fill in the Number, Street 1 and Street 2, Province/State/Region, City and Postal/Zip code, then click Create. These details are kept in the advertiser's record.
Classify an advertiser
In the advertiser's Category field, search for and select the desired category. Each advertiser shows its category in the advertisers list, which makes organizing and filtering easier.
Manage advertisers and categories
From the Advertisers and Categories lists, use the ⋮ menu on each item to edit, archive or delete it. The "Archived" (advertisers) or "Deleted" (categories) toggle lets you display hidden items.